tags:
  - TIL
  - React
created: 2025-06-26
📘 2025-06-26 TIL
📌 오늘 배운 핵심 요약
- react-hook-form으로 로그인/회원가입 폼 상태 및 유효성 처리
- react-hot-toast로 로딩, 성공, 실패 알림 UX 구현
- axios 기반 로그인/회원가입/비밀번호 초기화 API 연동
- 로그인 성공 시 토큰을 localStorage에 저장하고, Zustand로 전역 상태 관리
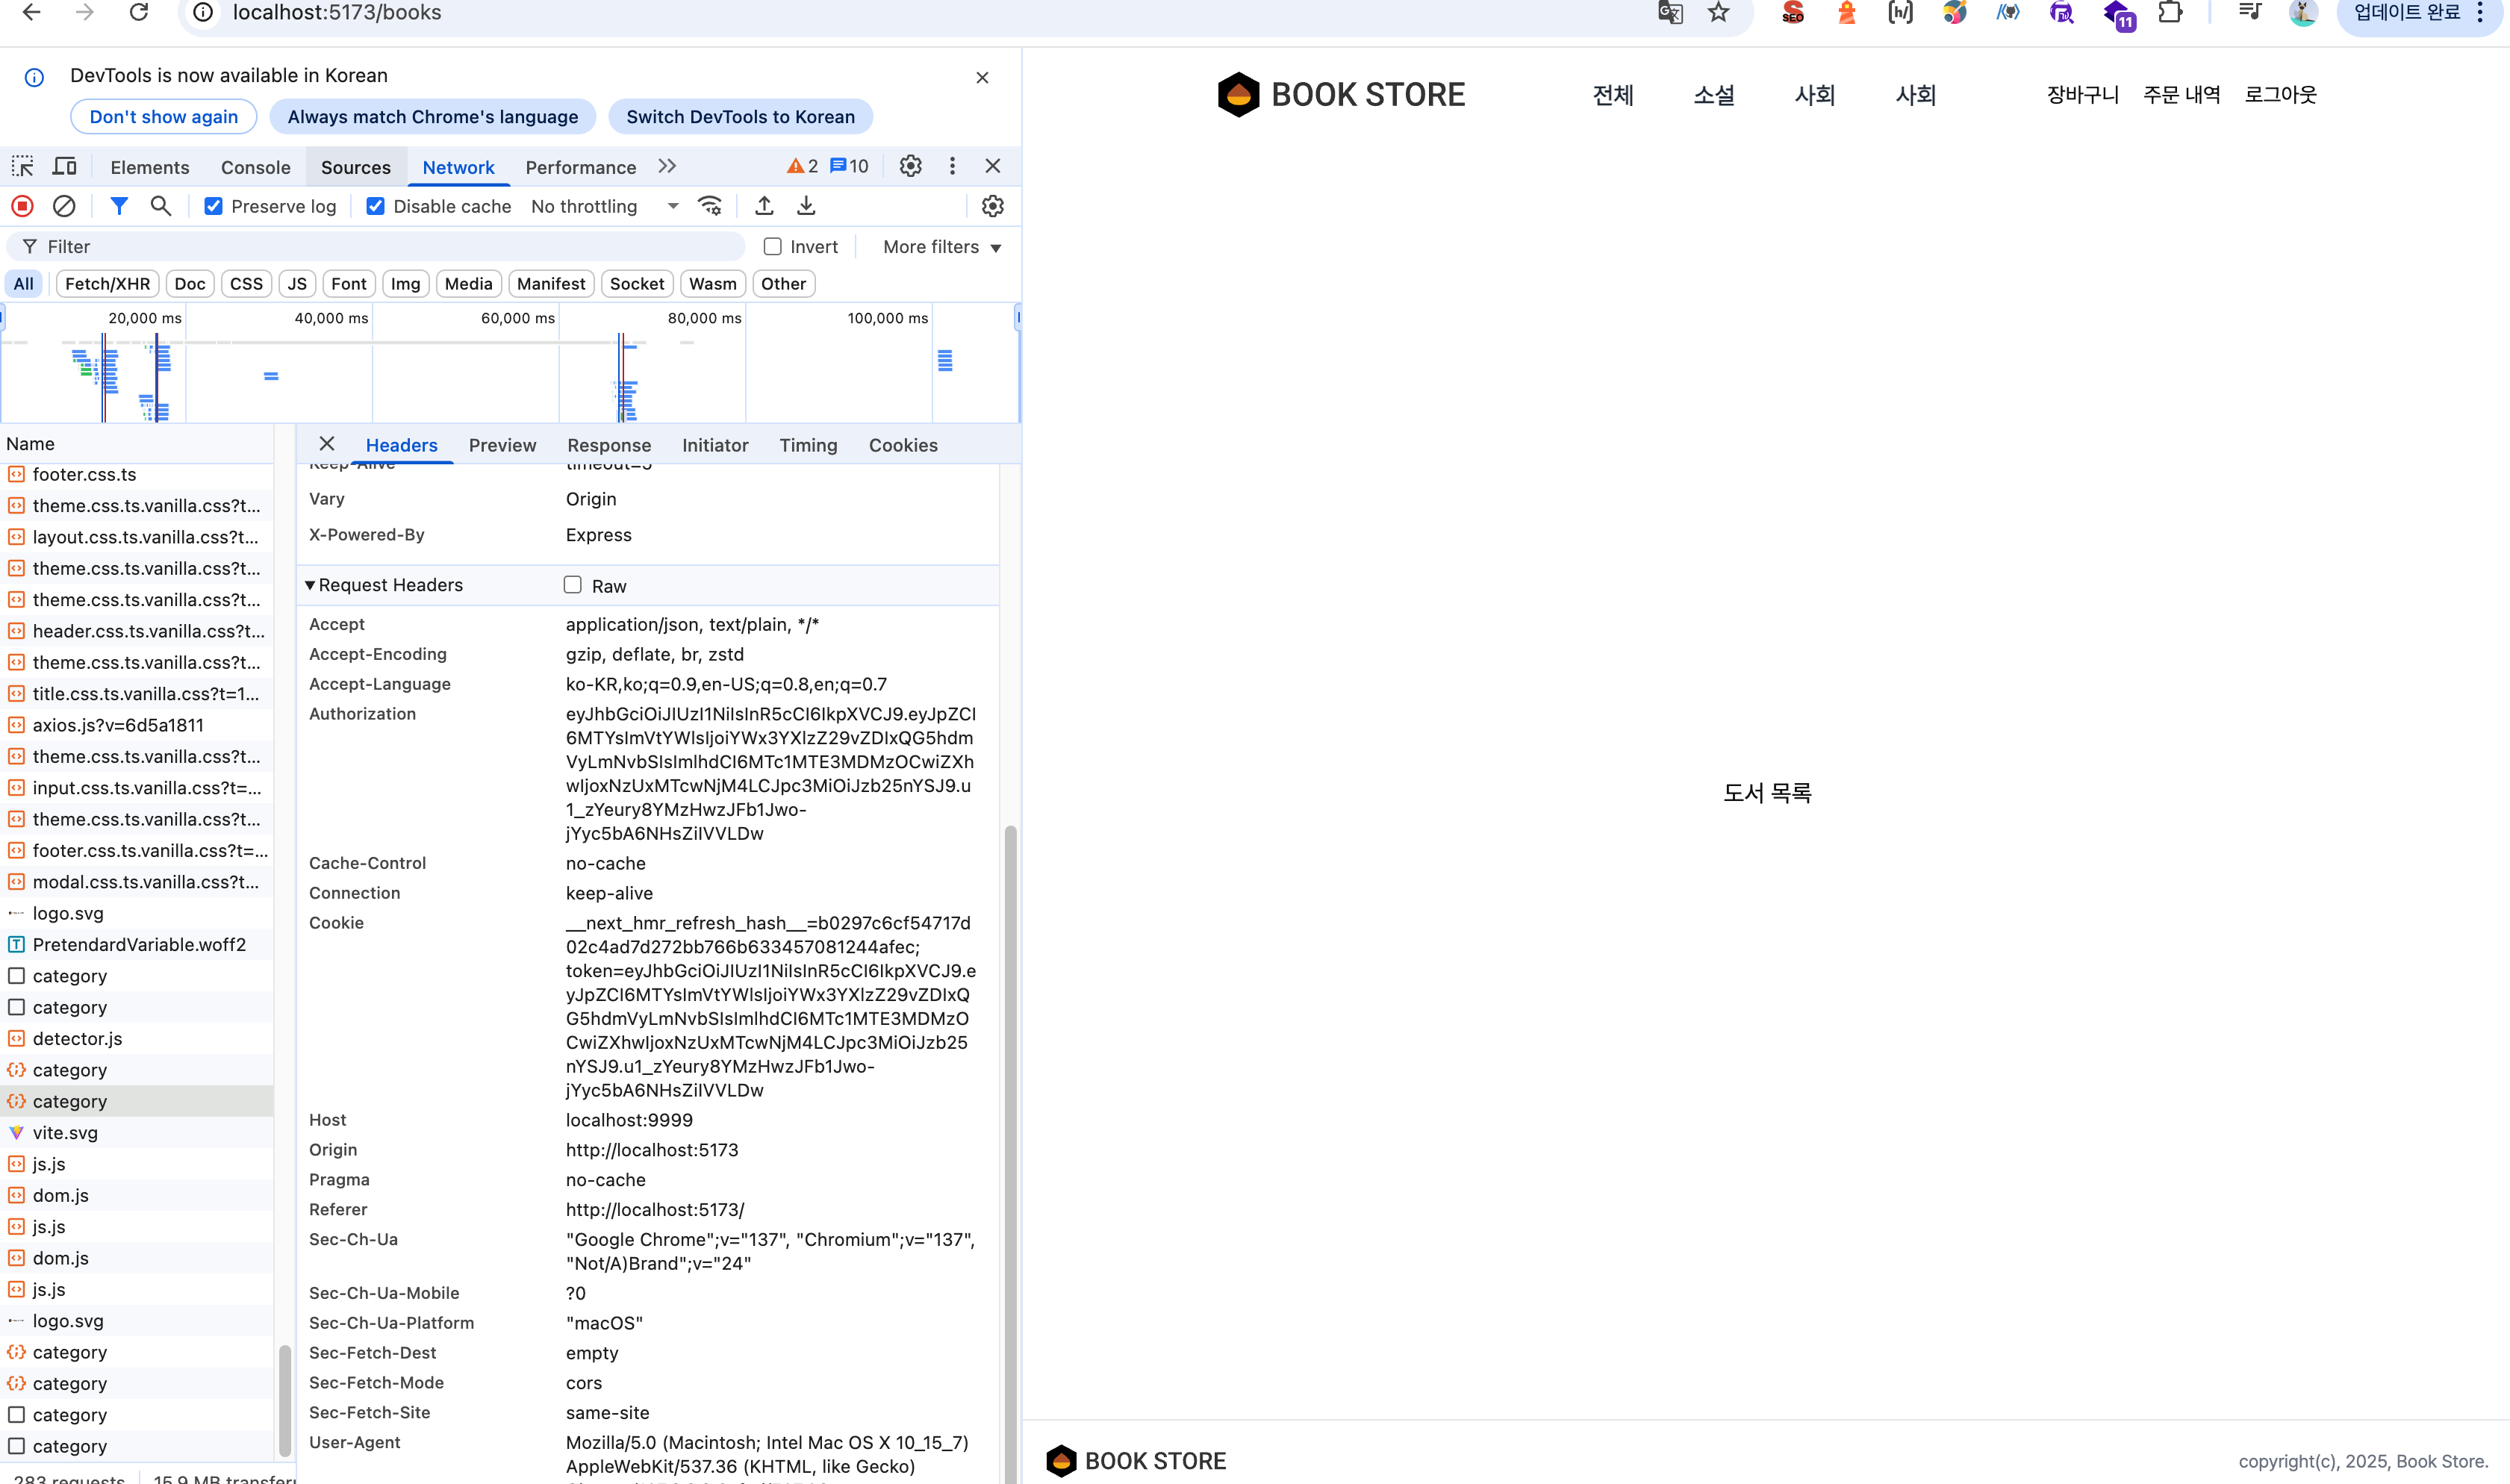
- axios 인터셉터로 모든 요청에 Authorization 헤더 자동 첨부
- 인증 만료(401 응답) 시 토큰 삭제 및 로그인 페이지로 자동 이동
- Header에서 로그인 여부에 따라 메뉴 분기
- 도서 리스트는 그리드/리스트 보기 전환이 가능하며, URL 쿼리스트링을 기반으로 뷰 상태를 유지
🧠 상세 학습 내용
📍 주제 1: 로그인 인증 구조
로그인 성공
→ 토큰 획득
→ Zustand 전역 상태 변경 (isLoggedIn: true)
→ localStorage 저장
→ axios Authorization 헤더에 자동 설정
- 로그인 성공 후 서버에서 토큰을 응답 받으면,
- localStorage에 저장하고,
- Zustand 전역 상태(isLoggedIn)를 true로 업데이트,
- 이후 모든 요청은 axios 인터셉터에서 해당 토큰을 Authorization 헤더에 자동으로 포함시킴
📍 주제 2: 로그인 페이지 구성 및 UX
- react-hook-form으로 입력값/유효성 관리
- react-hot-toast로 로딩/성공/실패 UX 개선
- axios로 API 연동, 성공 시 토큰 저장 및 상태 변경
const { success, error, loading, dismiss } = useAlert();
const { storeLogin } = useAuthStore();

const onSubmit = (data: LoginForm) => {
  const toastId = loading('로그인 중입니다...');
  login(data)
    .then((res) => {
      dismiss(toastId);
      setToken(res.token);         // localStorage 저장
      storeLogin(res.token);       // Zustand 상태 변경
      success('로그인 완료되었습니다.');
      navigate('/');
    })
    .catch((err) => {
      dismiss(toastId);
      error('로그인에 실패했습니다.');
    });
};
- react-hot-toast로 로딩 상태 표시 및 UX 개선
- 상태 처리 로직을 깔끔하게 분리하고, 재사용 가능한 useAlert 훅을 통해 알림 처리
📍 주제 3: Zustand로 전역 인증 상태 관리
import { create } from 'zustand';
import { getToken, setToken, removeToken } from '@/utils/token';

export const useAuthStore = create((set) => ({
  isLoggedIn: !!getToken(),
  token: getToken(),
  storeLogin: (token) => {
    set({ isLoggedIn: true, token });
    setToken(token);
  },
  storeLogout: () => {
    set({ isLoggedIn: false, token: null });
    removeToken();
  },
}));
- 로그인 시 storeLogin(token)을 통해 토큰 저장 및 상태 업데이트
- 로그아웃 또는 인증 만료 시 storeLogout()으로 상태 초기화
📍 주제 4: axios 인터셉터로 인증 자동화
import axios from 'axios';
import type { AxiosRequestConfig } from 'axios';
import { getToken, removeToken } from '@/utils/token';

const BASE_URL = 'http://localhost:9999';
const DEFAULT_TIMEOUT = 30000;

export const createClient = (config: AxiosRequestConfig = {}) => {
  const axiosInstance = axios.create({
    baseURL: BASE_URL,
    timeout: DEFAULT_TIMEOUT,
    headers: {
      'content-type': 'application/json',
      Authorization: getToken() ? getToken() : '',
    },
    withCredentials: true,
    ...config,
  });

  axiosInstance.interceptors.response.use(
    (response) => {
      return response;
    },
    (error) => {
      // 401(인증 만료) 처리
      if (error.response && error.response.status === 401) {
        removeToken();
        window.location.href = '/login';
        return;
      }
      return Promise.reject(error);
    }
  );

  return axiosInstance;
};

export const httpClient = createClient();
- 모든 요청에 토큰 자동 추가
- 401 응답 시 토큰 삭제 + 로그인 페이지 이동 처리
📍 주제 5: Book 모델 기반 데이터와 도서 목록(Books) 컴포넌트 구현
- Book 모델에 맞는 더미 데이터로 도서 목록을 구성
- BooksList: Book[] 배열을 받아 map으로 BookItem을 렌더링
- BookItem: 카드형 UI로 이미지, 제목, 저자, 요약, 가격, 좋아요(하트) 수를 출력
// src/models/book.model.ts
export interface Book {
  id: number;
  title: string;
  img: number;
  category_id: number;
  form: string;
  isbn: string;
  summary: string;
  detail: string;
  author: string;
  pages: number;
  contents: string;
  price: number;
  pub_date: string;
  likes: number;
}
이미지/가격/아이콘 유틸 함수 적용
- 이미지: getImgSrc(book.id) 유틸 함수로 카드마다 랜덤 이미지 적용
- 가격: formatNumber(book.price)로 천단위 콤마 포맷
- 좋아요(하트): lucide-react의 Heart 아이콘 사용, 빨간색 스타일 적용
1. Book 모델 설계
- 도서 데이터의 구조를 명확하게 타입으로 정의
- 실무/강의 모두에서 타입스크립트 모델을 먼저 설계하면 유지보수와 확장성이 뛰어남
export interface Book {
  id: number;
  title: string;
  author: string;
  summary: string;
  price: number;
  likes: number;
  img?: number;
}
2. BooksList & BookItem 컴포넌트 분리
- BooksList: Book[] 배열을 받아 map으로 BookItem을 렌더링 (책 목록 전체)
- BookItem: 단일 Book 객체를 카드형 UI로 예쁘게 출력 (책 1권)
// src/components/books/BooksList.tsx
import BookItem from './BookItem';
import type { Book } from '@/models/book.model';

function BooksList({ books }: { books: Book[] }) {
  return (
    <div className="grid grid-cols-2 md:grid-cols-4 gap-6">
      {books.map(book => (
        <BookItem key={book.id} book={book} />
      ))}
    </div>
  );
}
export default BooksList;
3. BookItem: 카드형 UI & 유틸 함수 활용
- 이미지: getImgSrc(book.id)로 랜덤 이미지 적용
- 가격: formatNumber(book.price)로 천단위 콤마 포맷
- 좋아요(하트): lucide-react의 Heart 아이콘, 빨간색 스타일
// src/components/books/BookItem.tsx
import { getImgSrc } from '@/utils/image';
import { formatNumber } from '@/utils/format';
import { Heart } from 'lucide-react';
import type { Book } from '@/models/book.model';

function BookItem({ book }: { book: Book }) {
  return (
    <div className="bg-white rounded-lg shadow p-4 flex flex-col">
      <div className="aspect-[3/4] bg-gray-100 rounded mb-3 flex items-center justify-center overflow-hidden">
        <img
          src={getImgSrc(book.id)}
          alt={book.title}
          className="w-full h-full object-cover"
        />
      </div>
      <div className="flex-1 flex flex-col gap-1">
        <div className="font-bold text-base truncate">{book.title}</div>
        <div className="text-xs text-gray-500">{book.author}</div>
        <div className="text-xs text-gray-400 truncate">{book.summary}</div>
      </div>
      <div className="flex items-center justify-between mt-3">
        <span className="font-semibold text-sm">{formatNumber(book.price)}원</span>
        <span className="text-xs flex items-center gap-1">
          <Heart className="text-red-400 fill-red-400" size={16} />
          {book.likes}
        </span>
      </div>
    </div>
  );
}
export default BookItem;
4. 유틸 함수로 코드 일관성/재사용성 강화
// src/utils/image.ts
export const getImgSrc = (id: number) => `https://picsum.photos/id/${id}/600/600`;

// src/utils/format.ts
export const formatNumber = (number: number): string => number.toLocaleString();
- 실무에서는 이미지/숫자 포맷 등 반복되는 로직을 유틸 함수로 분리하면 유지보수성이 높아짐
📍 주제 6: BooksFilter 컴포넌트
1. BooksFilter란?
- 도서 목록(Books) 페이지에서 카테고리, 신간 등 다양한 필터 버튼을 제공하는 UI 컴포넌트입니다.
- 사용자가 원하는 조건으로 도서 목록을 필터링할 수 있도록 쿼리스트링과 연동합니다.
2. 설계 의도와 구조
- 관심사 분리: 데이터 패칭(카테고리 목록)은 useCategory 훅에서, UI/상태 관리는 BooksFilter에서 담당.
- 재사용성: 카테고리 데이터가 필요하면 어디서든 useCategory 훅만 import해서 사용.
- 확장성: 신간, 뷰타입 등 다양한 필터를 쉽게 추가할 수 있는 구조.
3. 주요 구현 포인트
3-1. 쿼리스트링 기반 상태 관리
- useSearchParams로 쿼리스트링을 읽고, setSearchParams로 변경.
- 카테고리, 신간 등 모든 필터 상태를 쿼리스트링에 반영 → 새로고침/공유에도 상태 유지.
3-2. 선택 상태(활성화) UI
- 현재 쿼리스트링 값과 각 버튼의 id를 비교해 intent(primary/ghost) 등 스타일 동적으로 적용.
- isActive를 useCategory에서 내려주거나, BooksFilter에서 쿼리스트링과 비교해 계산.
3-3. 공통 Button 컴포넌트 활용
- 디자인/UX 일관성 유지, 테스트 용이.
4. 실전 코드 예시
import { useCategory } from '@/hooks/useCategory';
import { useSearchParams } from 'react-router-dom';
import { Button } from '@/components/ui/Button/Button';

function BooksFilter() {
  const { categories } = useCategory();
  const [searchParams, setSearchParams] = useSearchParams();

  // 현재 선택된 카테고리 id
  const currentCategoryId = searchParams.get('category_id');
  const currentIdNum = currentCategoryId !== null ? Number(currentCategoryId) : -1;

  // 카테고리 변경
  const handleCategory = (id: number | null) => {
    const newSearchParams = new URLSearchParams(searchParams);
    if (id === -1 || id === null) {
      newSearchParams.delete('category_id');
    } else {
      newSearchParams.set('category_id', id.toString());
    }
    setSearchParams(newSearchParams);
  };

  // 신간 필터 토글
  const handleNews = () => {
    const newSearchParams = new URLSearchParams(searchParams);
    const current = newSearchParams.get('news') === 'true';
    newSearchParams.set('news', (!current).toString());
    setSearchParams(newSearchParams);
  };

  const newsActive = searchParams.get('news') === 'true';

  return (
    <div className="flex gap-2 items-center flex-wrap">
      <div className="category">
        {categories.map(item => (
          <Button
            size="md"
            intent={currentIdNum === item.category_id ? 'primary' : 'ghost'}
            key={item.category_id}
            onClick={() => handleCategory(item.category_id)}
          >
            {item.category_name}
          </Button>
        ))}
      </div>
      <div className="new">
        <Button
          size="md"
          intent={newsActive ? 'primary' : 'ghost'}
          onClick={handleNews}
        >
          신간
        </Button>
      </div>
    </div>
  );
}

export default BooksFilter;
📍 주제 6: 도서 리스트 뷰: 그리드 / 리스트 전환
• 쿼리스트링 view=grid 또는 view=list에 따라 UI가 유동적으로 변경됨
• BooksViewSwitcher 컴포넌트에서 버튼 클릭 시 URL 파라미터를 업데이트
• BooksList 컴포넌트는 location.search를 이용해 현재 뷰 모드를 감지하고 상태를 반영
// BooksViewSwitcher.tsx
const handleSwitch = (value: ViewMode) => {
  const newSearchParams = new URLSearchParams(searchParams);
  newSearchParams.set('view', value);
  setSearchParams(newSearchParams);
};

useEffect(() => {
  if (!searchParams.get('view')) {
    handleSwitch('grid');
  }
}, []);
// BooksList.tsx
const [view, setView] = useState<ViewMode>('grid');
useEffect(() => {
  const value = new URLSearchParams(location.search).get('view');
  if (value === 'grid' || value === 'list') setView(value);
}, [location.search]);

💭 회고
• 새롭게 알게 된 점
- SPA에서 토큰 기반 인증의 전체 흐름(토큰 발급 → 저장 → 전역 상태 연동 → axios 요청 자동화)에 대해 명확히 이해할 수 있었다.
- 상태 관리 라이브러리(Zustand)를 통해 인증 상태를 앱 전역에서 일관성 있게 유지할 수 있다는 점이 인상적이었다.
• 어렵게 느껴졌던 부분
- axios.interceptors를 사용하면 반복적인 인증 처리 로직을 공통으로 처리할 수 있어, 실무에서 유용하다는 점을 체감했다.
• 다음에 학습할 주제
- 도서 상세 페이지